
Customer experience is all about listening to them, offering them a solution that fits their needs, and taking their review.
Interaction with customers is very important when it comes to building a brand. And one should definitely focus on AI.
AI phone systems handle 85% of routine calls automatically, reducing hold times—a top complaint for 55% of consumers.
LC phone is GHL’s built-in phone system. Agencies handle calls and texts from the CRM without needing any outside tools.
The aim is to provide everything under one roof. When customers want to interact, they should feel valued and attended to promptly.
Why LC Phone Benefits Agencies?
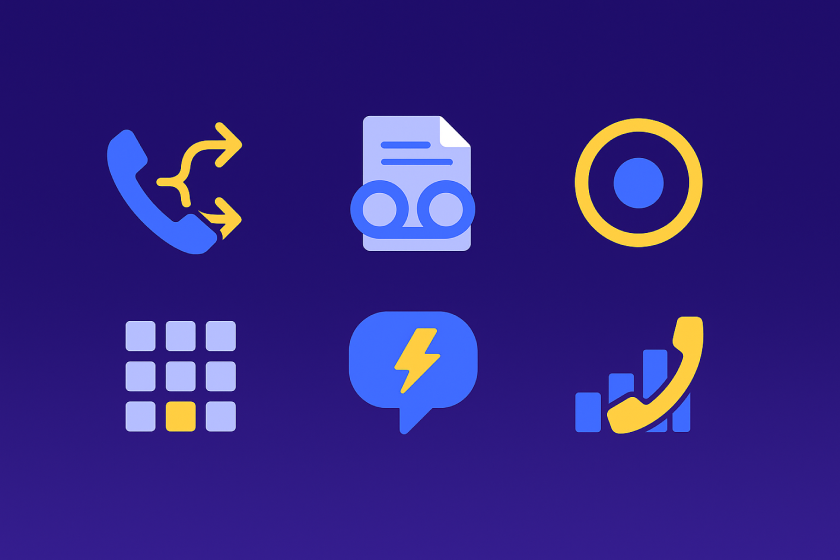
The LC phone turns on instantly and makes texts more reliable. It uses SenderID and opt-out tools to keep messages from getting blocked.
With real-time billing, your team knows exactly what they are spending. Every call and texts are automatically tracked.
Best features for business:
- Routes incoming calls to the right team member instantly
- Converts voice messages into text you can read
- Records all calls automatically for training purposes
- Creates custom menus like “Press 1 for Sales.”
- Sends automatic text responses to new leads
- Shows how many calls you receive each day
Want to switch from Twilio? The LC phone moves the numbers automatically. So, no time is wasted.
Security features will protect your reputation as a sender. Ramp-up protections ensure that you don’t send too many messages too fast.
Prerequisites Before Setup of LC Phone
Make sure you have agency-level access to your GoHighlevel dashboard. New account starts with Twilio, so you will need to switch to the LC phone.
Always check that your billing is set up correctly. Phone charges show up on your GHL invoice with clear usage details.
Pick area codes for local numbers ahead of time, because this makes your clients trust you more and help you follow local rules.
6 Easy Steps to set up the LC phone:
Step 1: Enable LC Phone at Agency Level
Log in to your GHL agency dashboard first. Then go to settings, find Phone system in the Twilio section.
Click ‘Switch to LeadConnector phone system’ and confirm your choice.
This will turn on the LC phone for all new sub-accounts you create. Move existing accounts one at a time or all together.
This activation process can take up to 48 hours to finish completely.
Step 2: Switch and Migrate Sub-Accounts
For individual sub-accounts, open the sub-account settings. Select ‘Use LeadConector Phone service’ from the options.
The bulk migration tool moves all your sub-accounts at once. If you have Twilio numbers, the transfer is done automatically.
After the migration is done, check that it says ‘Managed by LeadConnector Phone system’ in phone settings. This confirms the switch worked correctly.
Step 3: Purchase and Configure Phone Numbers
Open the sub-account dashboard and click Phone numbers. Then click Add number to start buying a new one.
Type in the area code you want and choose your country, like the US.
Pick either a local number or a toll-free number.
The purchase happens instantly, and the number is ready to use. Numbers automatically create contacts when someone calls or texts them.
Set up Verified CallerID to hide your real phone numbers. This protects your privacy when making outbound calls to clients.
Step 4: Assign Numbers to Users
Go to Settings, then Users, and select the person you want. Expand their Call & Voicemail settings to see options.
Pick the LC number from the Inbound Number dropdown menu. Each user can only have one number assigned to them.
All incoming calls go to their mobile app if they’re logged in. You can also assign numbers from Phone Numbers or contact records directly.
Step 5: Configure Call Routing and Features
Access the Phone system area to set up phone menus.
You can even create automated routing and turn on voicemail transcription here.
Enable call recording if you need to keep records. Turn on analytics to track call volumes and how calls end.
Test the dialer by making an outbound call first. The call should log in your CRM with a transcript automatically.
Connect it with workflows to send follow-up texts. You can also set up triggers for specific actions after calls.
Step 6: Verify Email Integration and Test
LC email is the default provider for your system. Check the email services above Phone System to confirm it is active.
Send a test text and make a test call. Check your CRM to see if everything logs correctly with the delivery status.
Observe the usage dashboard to track billing. Set up compliance alerts so you know about any delivery problems right away.
Optimization Tips for Agencies
Use number pools to track which campaigns are working.
Set up Do Not Disturb rules to keep messages from getting marked as spam.
Check reports to see your return on investment. LC Phone costs less than Twilio because of better pricing.
Your team avoids complicated setup steps that waste time and resources.
For SaaS mode, turn it back on after transferring accounts.
If you have problems, use the support resources available. The system monitors everything 24/7 to keep it running smoothly.
Track your usage patterns to find ways to save money. Train your team on all the features so they use them effectively.
No Spam. No calls. Unsubscribe anytime.
Conclusion
This setup helps agencies put all their communications in one place. Your team works faster and wastes less time switching between different tools.
Clients get better service because calls and texts happen right in the CRM. You save money and have better control over your phone system.
Start with one sub-account to test everything first. Once you’re comfortable, roll it out to your whole agency for maximum efficiency.