Facebook Lead Ads usually convert at about 8.78%. Businesses earn around $2 for every $1 spent on Google Ads. This shows a 200% ROI when campaigns are well-optimised.
Have you been in to a situation where you spent capital on Facebook and Google Ads, but the leads are stuck in the ad platforms?
HAPPENED WITH MY TEAM A COUPLE OF TIMES!
So, the problem was that the leads were not getting into the CRM when required. This led to a drop in conversion rates, the customers were unhappy with the response times, and data became ir-relevant.
Hence, SYNC is what your team should do with the current system.
Syncing the lead connector with Facebook and Google Ads will set the lead capture on automation.
The marketing and sales team will surely be happy because they will have one system to follow up and manual data entry is removed.
It enables faster lead engagement. It also ensures complete visibility across campaigns.
Why You Should Sync LeadConnector with Facebook & Google Ads?
Most of the marketers complain about an increase in delays, duplicates, and missed follow-ups. Now, this happens because the ad-generated leads don’t flow.
Marketing Scoop reports that syncing Facebook Lead Ads with LeadConnector helps a lot.
Every form submission gets captured automatically. It pushes to your CRM in real time.
This Integration Provides Three Major Advantages
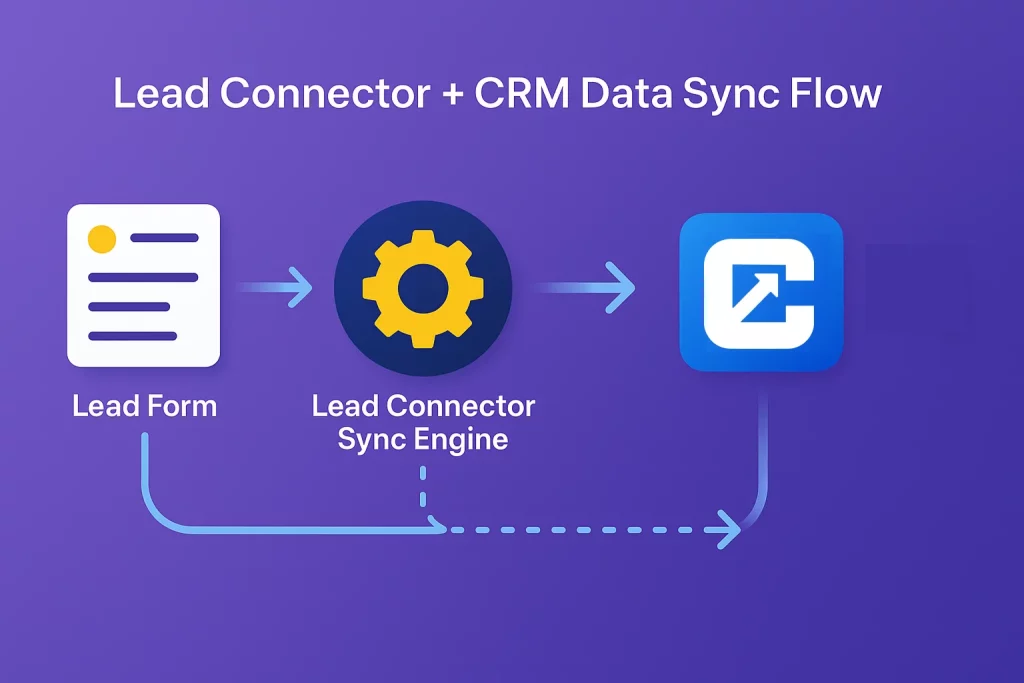
- Lead capture and routing happen instantly. This comes from the Lead connector help center. Unified and consistent data appears in the campaigns.
- Follow-up is faster and automated, which increases conversion rates. Facebook Lead Ads automatically send new leads to Lead Connector. Zapier also enables a Google Ads leadconnector integration.
- New Google form submissions instantly appear in the CRM.
Prerequisites Before You Begin Syncing
Before setting up your integrations, make sure everything is ready. Ensure the following items are prepared.
1. For Facebook Lead Ads – LeadConnector
Have admin access to your Facebook Business Page or Ads Manager. Get verified permissions and have a ready lead form.
2. For Google Ads – LeadConnector
Ensure you have the right account permissions. Have an active lead form extension or lead capture setup. Validate that LeadConnector (via Zapier) supports your chosen trigger.
3. Within LeadConnector
Confirm access to the sub-account if applicable. Align field mappings between your forms and CRM.
4. Internal Readiness
Make sure sales and marketing teams agree on naming conventions. They should agree on follow-up workflows too.
5. Stay Compliant
Follow data-privacy laws such as GDPR. Always collect and process leads with explicit consent.
Step-by-Step Setup for Facebook Lead Ads : LeadConnector
1. Connect Facebook Lead Ads to LeadConnector
Log into LeadConnector. Go to Integrations and select Facebook Lead Ads. Authorize your Facebook account.
Grant access to your Facebook Page and forms. Ensure you have Lead Access permissions in the Page settings.
2. Map Your Lead Form Fields
In the LeadConnector form mapping interface, align each Facebook form field. Match name, email, phone, and other fields. Match them with the corresponding field in LeadConnector.
Avoid unsupported field types or mismatched data formats. This info comes from SaveMyLeads and LeadConnector Help Docs.
3. Test the Integration
Submit a test form via Facebook. Verify that LeadConnector receives the lead data. Review the contact record for accuracy.
Check fields such as name, email, and campaign source. If the form or Page fails to appear, use the troubleshooting guide. LeadConnector provides this guide.
4. Enable Lead Routing & Workflows
After successful testing, configure automatic lead workflows in LeadConnector. Assign new leads to team members. Tag them by source like “Facebook Lead Ads.”
Trigger follow-ups by email or SMS. Continue monitoring logs to ensure smooth data flow. This prevents duplicates.
Step-by-Step Setup for Google Ads : LeadConnector
1. Determine Lead Capture Method
For Google’s Lead Form Extensions, use the trigger “New Lead Form Entry.” This is available via Zapier. If you capture leads from landing pages linked to Google Ads, connect those forms to LeadConnector.
Use webhooks to make this connection.
2. Connect Google Ads to LeadConnector
Using Zapier or a similar no-code tool, authenticate both accounts. Authenticate your Google Ads and LeadConnector accounts. Set Google Ads as the trigger.
Use ‘New Lead Form Entry’ as the trigger. Set LeadConnector as the action. Use “Create or Update Contact” as the action.
3. Map Lead Fields and Conversion Data
Map contact details like name, email, and phone. Include campaign information or GCLID (Google Click ID). This helps with advanced conversion tracking.
Tag each lead with ‘Google Ads – Lead Form.’ This gives clear attribution. This info comes from CustomerLabs CRM–Google Ads Integration.
4. Test & Activate
Submit a test lead. Confirm LeadConnector receives it instantly. Check that all fields map correctly.
Make sure workflows trigger automatically. Once verified, activate the Zap. Monitor periodically for any sync delays or permission errors.
Best Practices & Troubleshooting
1. Best Practices
Always label leads by source. Label them as Facebook or Google to track performance accurately. Capture campaign metadata like ad set and keyword.
This helps with better attribution analysis. Use automated follow-ups. Research shows response time heavily impacts conversions.
Keep field mappings updated whenever ad forms change. Regularly monitor automation logs. Track ROI within LeadConnector.
2. Troubleshooting
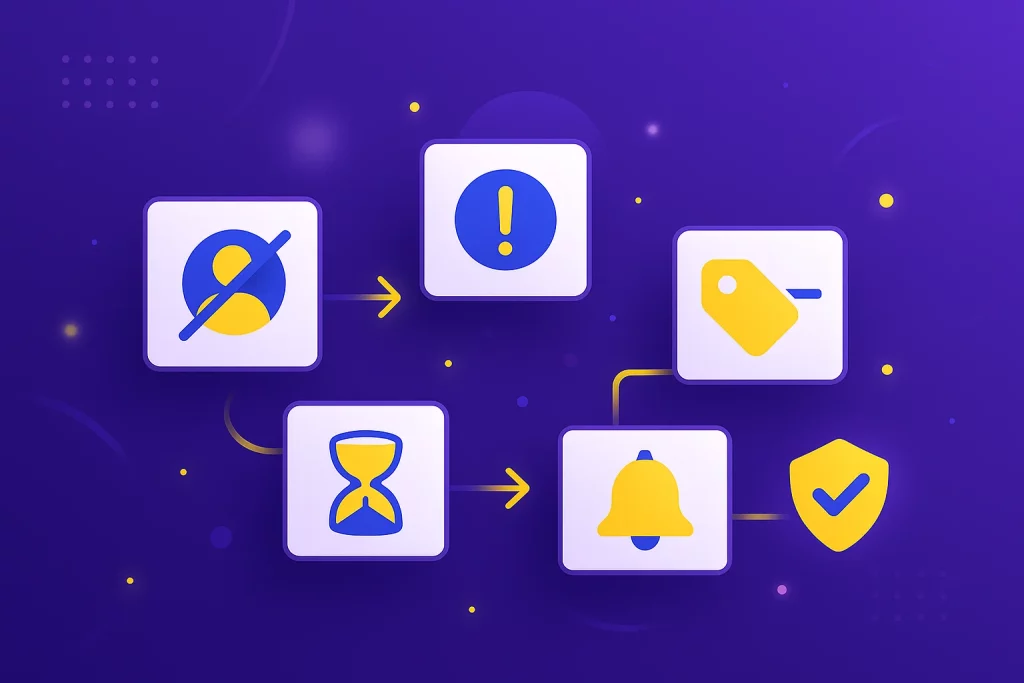
- Missing leads: Verify Facebook Page/Form access and permissions.
- Blank or mismatched fields: Recheck field mappings and data types.
- Missing GCLID or metadata: Confirm Google Ads auto-tagging is enabled.
- Lead delays: Check Zapier’s polling frequency. It can be up to 15 minutes.
- Consent issues: Always comply with privacy and ad platform policies. This avoids account restrictions.
No Spam. No calls. Unsubscribe anytime.
Measuring Success & Optimizing Your Setup
Track key funnel metrics. Include lead volume, cost per lead (CPL), and conversion rate. Also track source-based ROI.
LeadConnector’s reporting lets you segment performance by tag. Compare Facebook vs Google performance. Use this insight to reallocate ad budgets.
Put more money toward higher-converting channels. For continuous improvement, sync qualified or converted leads back to ad platforms. Use Customer Match or retargeting to enhance audience relevance.
Over time, refine form fields, ad creatives, and workflows. This drives conversion and maximizes ad spend efficiency.
Conclusion
Syncing LeadConnector with Facebook Lead Ads and Google Ads transforms scattered workflows.
It creates a unified, automated system. With proper setup, mapping, and lead-routing strategies, you’ll capture leads instantly.
You’ll respond to leads right away. You’ll maintain data accuracy too. The result is a stronger marketing-to-sales connection.
You’ll see measurable ROI improvement.